On Generative Algorithms
Differential Mesh 3d Github
Since Differential Mesh seemed to be working quite well I decided to make an attempt at recreating the same behaviour in three dimensions. In some sense this is "just" a matter of adding a third dimension, and letting things go from there. However, there were a few other challenges as well. First of all avoiding collisions is a bit more tedious in 3D. Secondly making sure that your mesh is consistent is a little more complicated. (I use a variation of the Half-Edge Data structure to represent the mesh and all operations on it.)
Similarly to Differential Line and Differential Mesh, the problem of collisions and self-intersections isn't really solved at all here. By adjusting the various forces it is possible to get it to behave well enough that collision detection isn't needed (most of the time …). Having said this, I should also point out that this is the first time I attempt to write a generative 3D mesh, so I can guarantee you that there are better ways of doing this out there.
One of those better ways is Floraform by Nervous System. Another one (although strictly speaking not a mesh, as I've understood it) is Cellular Forms by Andy Lomas.
If you want to play with 3D meshes on your own I recommend trying out Blender, which has a complete Python API. You can see an example of mine here. You could also try Processing combined with HE_Mesh by Frederik Vanhoutte.

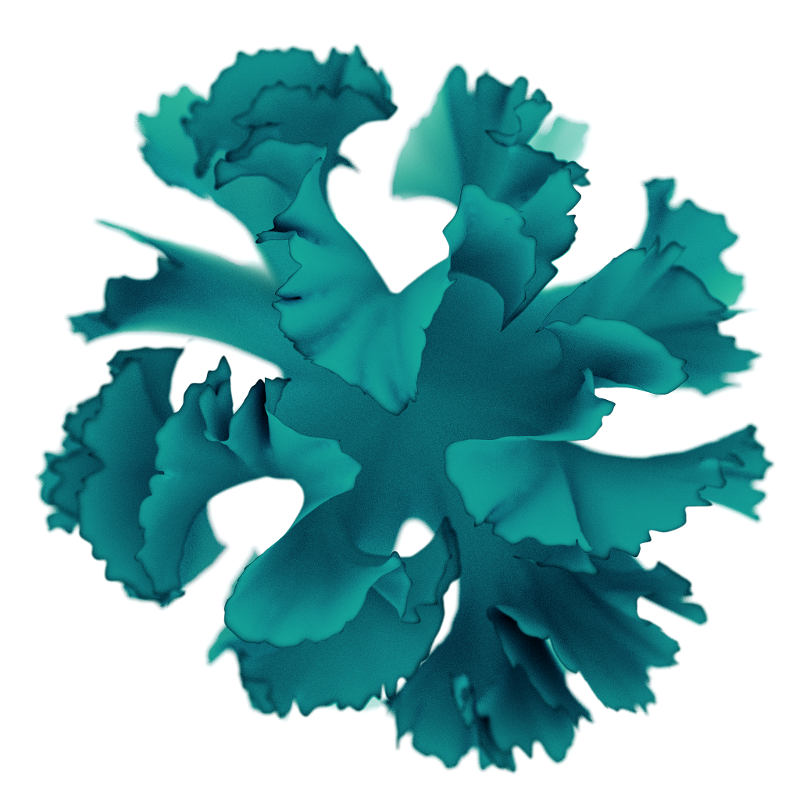
The above image is a rendering of a mesh done in Blender, using the Blender Cycles Rendering engine. As you can see it has a rather "frayed" appearance. This is a result of the chosen growth strategy: In a manner similar to the food source method used to create Differential Mesh, the growth of this mesh is controlled by applying the concept of "growth intensity". Vertices with high growth intensities will be more inclined to move than vertices with lower intensities—which in turn causes new vertices to be added to the mesh.

When we start the simulation certain vertices are given a growth intensity of one, whilst the remaining vertices have a growth intensity of zero. As the simulation progresses the growth intensity will gradually spread to neighboring vertices, similar to how heat spreads through a piece of metal.
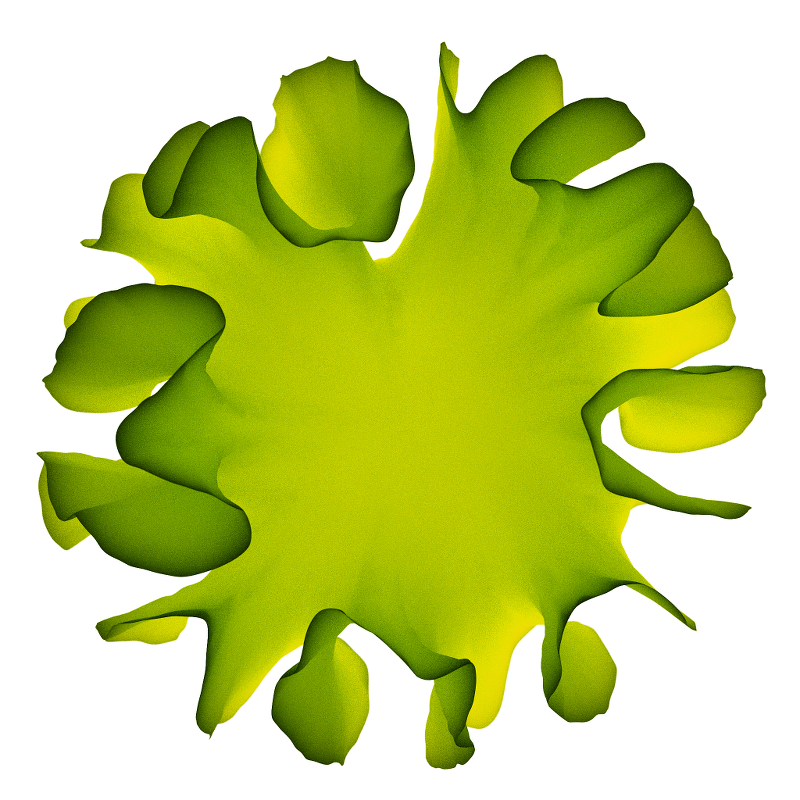
To make the mesh grow outwards outside edges of the mesh will be randomly assigned a growth intensity of one during the course of the simulation. If we do this in a scattered manner, we will get frayed meshes such as the top image. On the other hand, if we apply the growth intensity on the edge more uniformly, the results are more like the second image.
Differential Mesh Fractures